Introduction
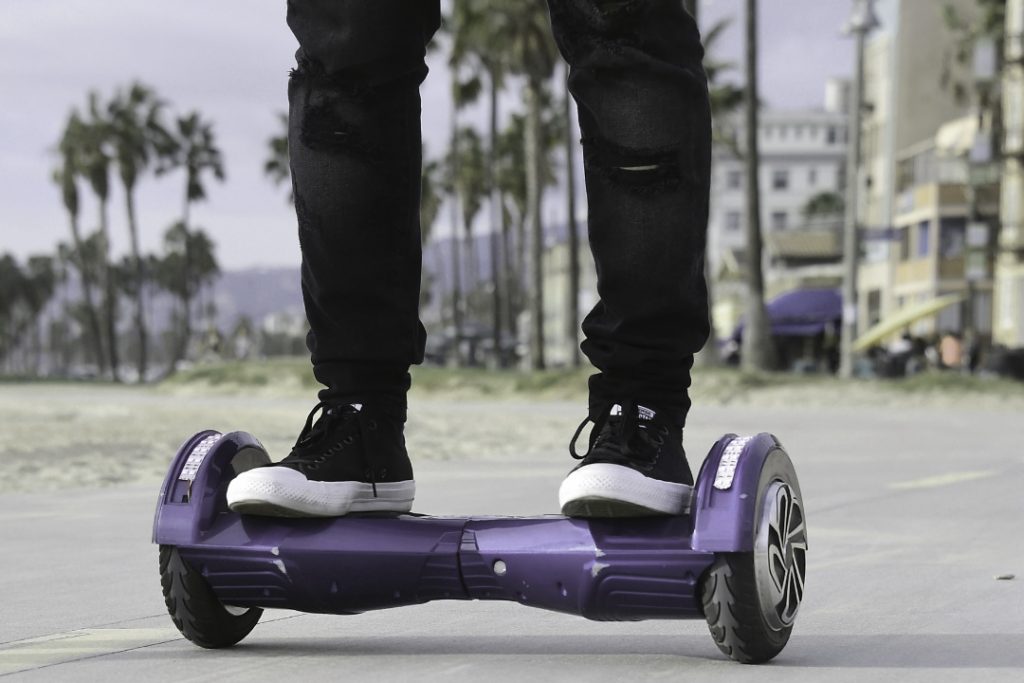
While a hoverboard may be a cool piece of equipment or a fun toy, they tend to look pretty dull. Even the most expensive hoverboard seems pretty basic once you get it home. If someone has a wild imagination, that person can customize their hoverboard into something that looks pretty sweet. While one may not have the fastest hoverboard, taking the time to create a customize hoverboard for themselves makes them feel like they can fly. Continue reading this article to find out how to make hoverboards look special and unique.
Hoverboard Skins & Stickers
A hoverboard skin is a cover for your hoverboard, which can cover the boring base that it comes with. You can create customized hoverboards with stickers or decals. You may hear the terms cases and shells. Some of these terms are used interchangeably. It is important to pay attention to what you are getting because the words may not mean the same thing. These terms may refer to the footboard that comes with the hoverboard. These cases and shells can give your hoverboard an additional cover that provides more protection for your hoverboard. These are a great way to give your board a unique look and extra protection all at the same time. You can easily change out the shell to give your board a new look any time you want.
These covers and stickers come in various sizes, shapes, and colors. You can find them in a range of designs that are sure to meet your taste. You can find them in camouflage or some other fun decal. These stickers can help your self balancing scooter look its best. If the hoverboard in your house is for your children, there are many designs that are sure to catch their eye. You can find skins, stickers, and decals easily online, and Amazon offers a wide variety. They offer hundreds of designs.
DIY Customization
If you do not like the options that are available to you to customize your hoverboard, you can do your own customization. You can tap into your own creativity to start the design from the beginning, making it entirely your own. You can use some duck tape to add some of your own extraordinary creativity to your hoverboard. You can even use special duct tape with designs.
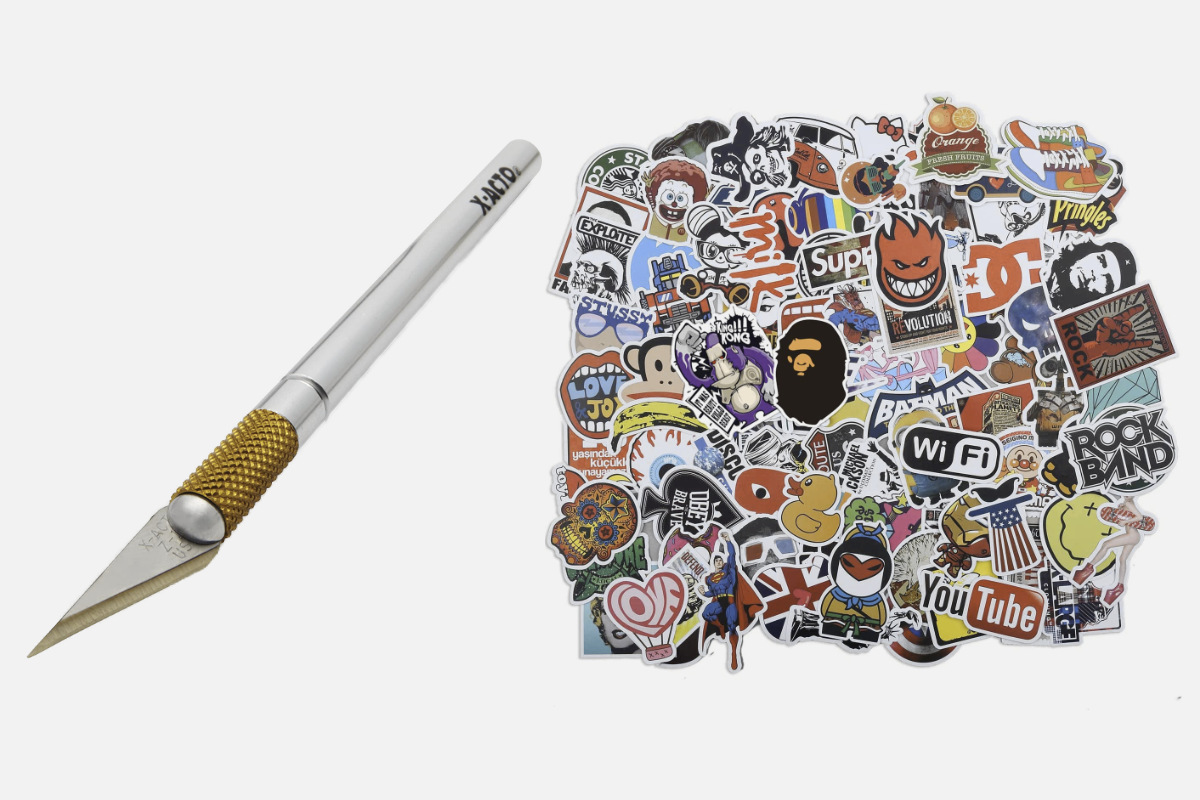
When you plan to customize your hoverboard with duct tape, you want to think about your budget. You may need plenty of duct tape and an X-Acto knife. If you follow these simple steps, you can quickly use duct tape to give your hoverboard a special flair. After you have picked out all the duct tape you want for your board, you should wrap it in duct tape in all the places you want it to be covered. Then use your X-Acto knife to cut off all the extra duct tape. You want to take your time and go through the process slowly. Taking your time will give you a better result. If you cover the foot pads, ports for charging, or lights, do not worry about it; you will take care of that later.
Once you have done this, pick out some stickers you like and place them on your board. You should consider putting stickers on your wheels. If you have to overlap any of the stickers, do so carefully to make sure it lines up properly. Keep in mind, the duct tape may peel eventually, and you will have to replace it. You may have to peel off the entire area and replace the duct tape. The more you do it, the easier the process becomes.
You want to use your X-Acto knife to cut out the places that are covering the lights, footpads, and charging port. You want to do this carefully so as not to cut yourself or too much of the duct tape. You should take the time to take a step back and admire your work. If you like what you see, jump on your hoverboard and ride away.
Painting Your Hoverboard
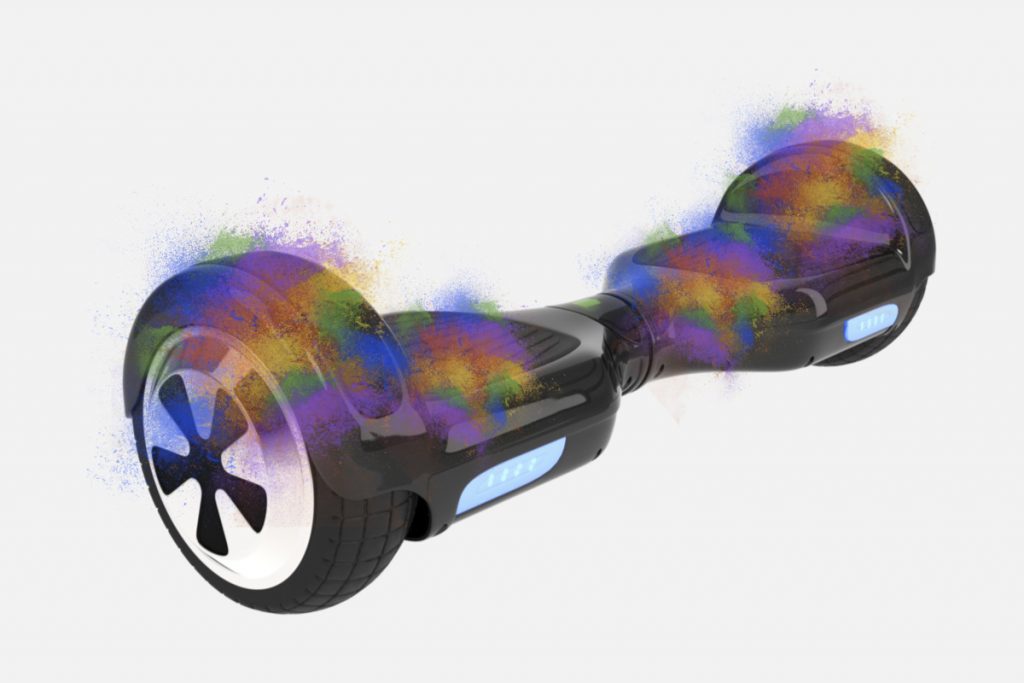
Perhaps tape or stickers are not your thing. If that is the case, you might want to consider creating a custom painted hoverboard. Before you think painting your board, you should know that the paint will be permanent. You will not be able to remove the paint. It may fade over time, but you will not be able to remove it. You also want to work carefully and intentionally so as not to make any mistakes.
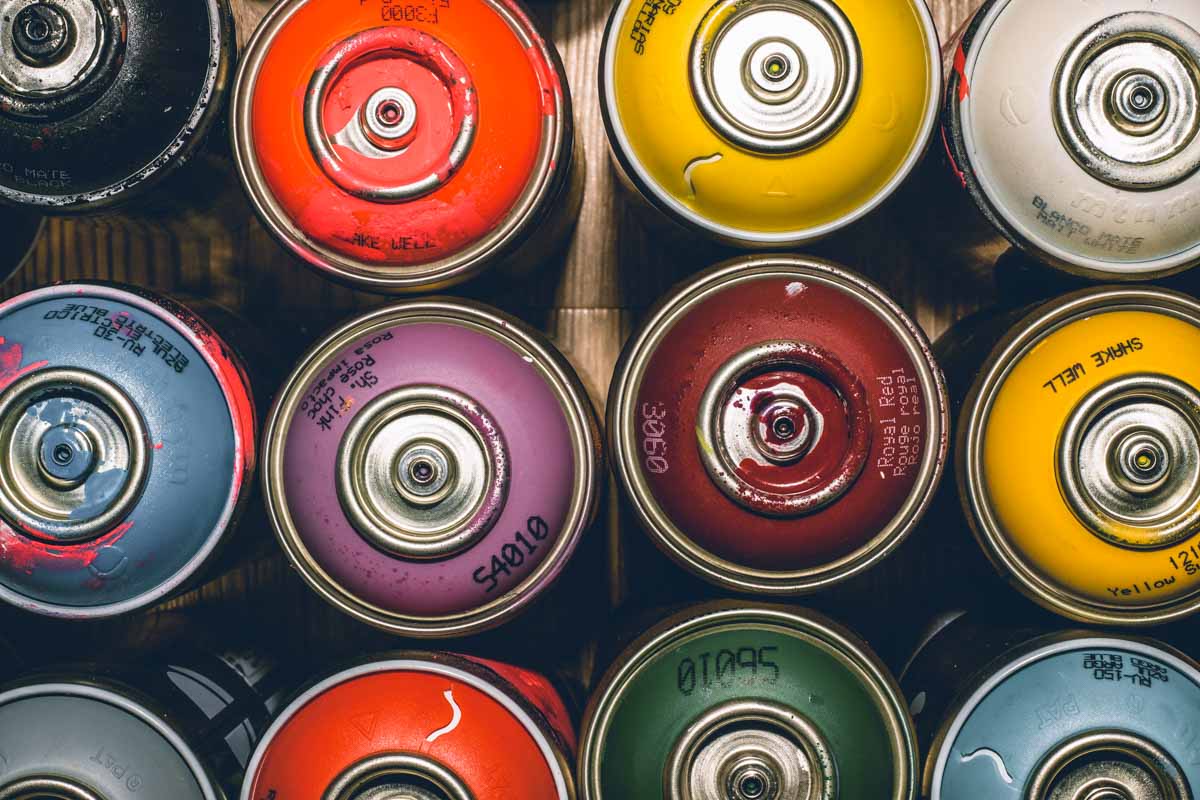
You should use spray paint if you want to paint your hoverboard. You will have to go to the store and buy the spray paint colors that you would like. You also want to get paint tape. This tape will cover the areas that you do not want to paint. You should consider using the tape to cover the lights, footpads, and all charging ports. If there are any buttons, you want to protect those, also. You want to paint your hoverboard in an open area. You may want to use one color or mix colors in different areas. You can even mix colors together separately and put them on the board. Once you finished spray painting the board, you should let the paint dry. Once it is completely dry, you might want to paint a second layer. Allow that layer to dry and perhaps paint a third layer. If you paint it with three layers, that should protect your hoverboards from any scratches or scrapes. Once all the layers of paint have dried, you can remove all the tape from the hoverboard and get a good look at your newly designed toy.
Conclusion
These are three ways that you can quickly and easily customize your hoverboard. If you do not like the way your board comes from the store, you can give it a unique look that is all your own. All three of these options are affordable. No matter which option you like best, you will not have to spend a large amount of money. You should make sure that you have the time to spend customizing your board correctly. You do not want to rush through it.
The customization steps are easy to follow, and you can have fun while you are doing it. Even a child should be able to follow these steps to create the custom board of their dreams. You can spend time with your child as you customize the board together. You can have fun together while creating a brand new look for your board.
Latest Stories
How Does a Hoverboard Work?
How to Customize a Hoverboard: 3 Simple DIY Tips
The 8 Best Electric Skateboards under $1000
The 7 Best Electric Skateboards under $700
The 7 Best Electric Skateboards under $500